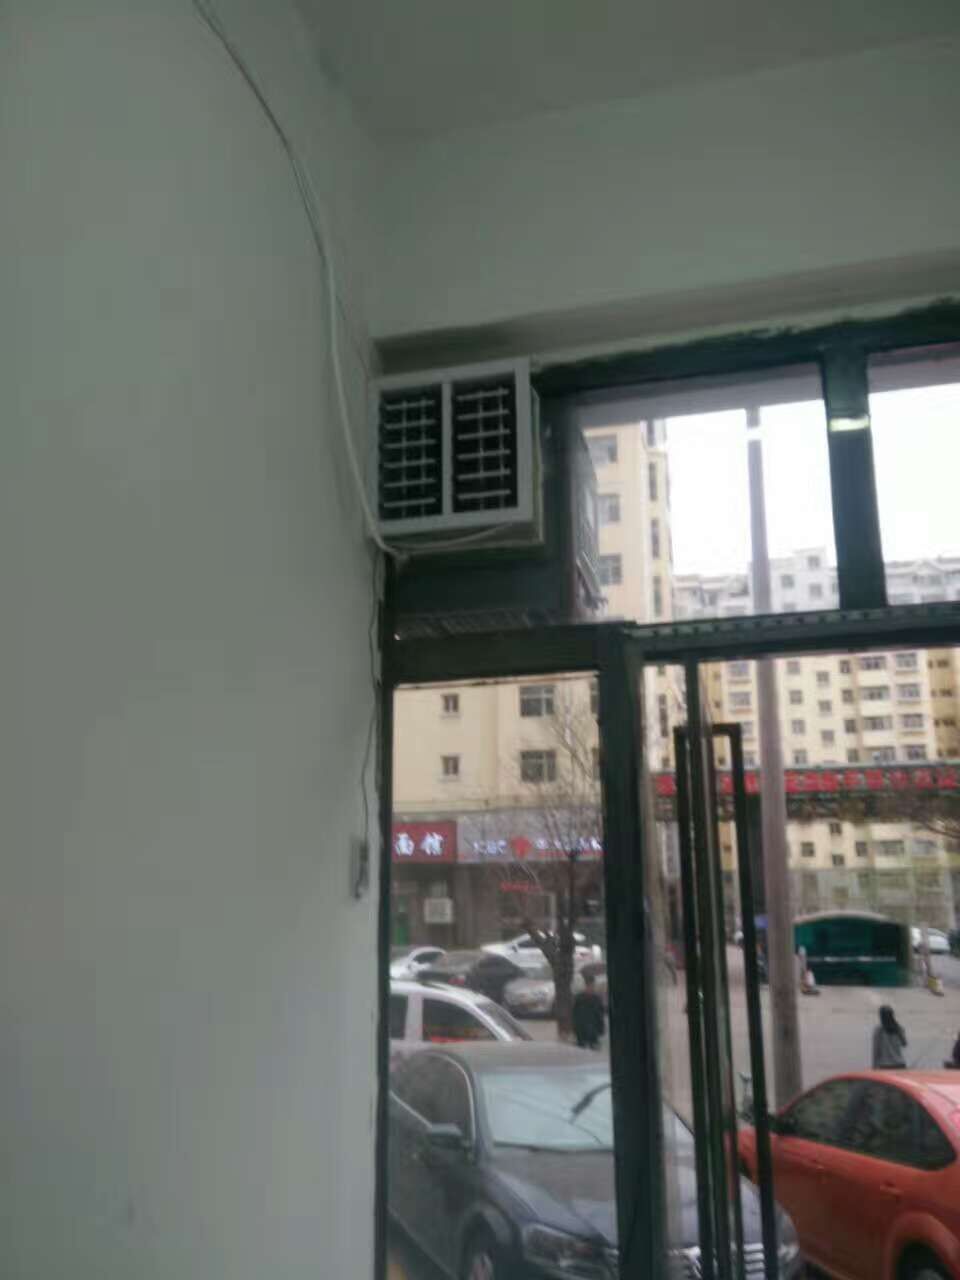
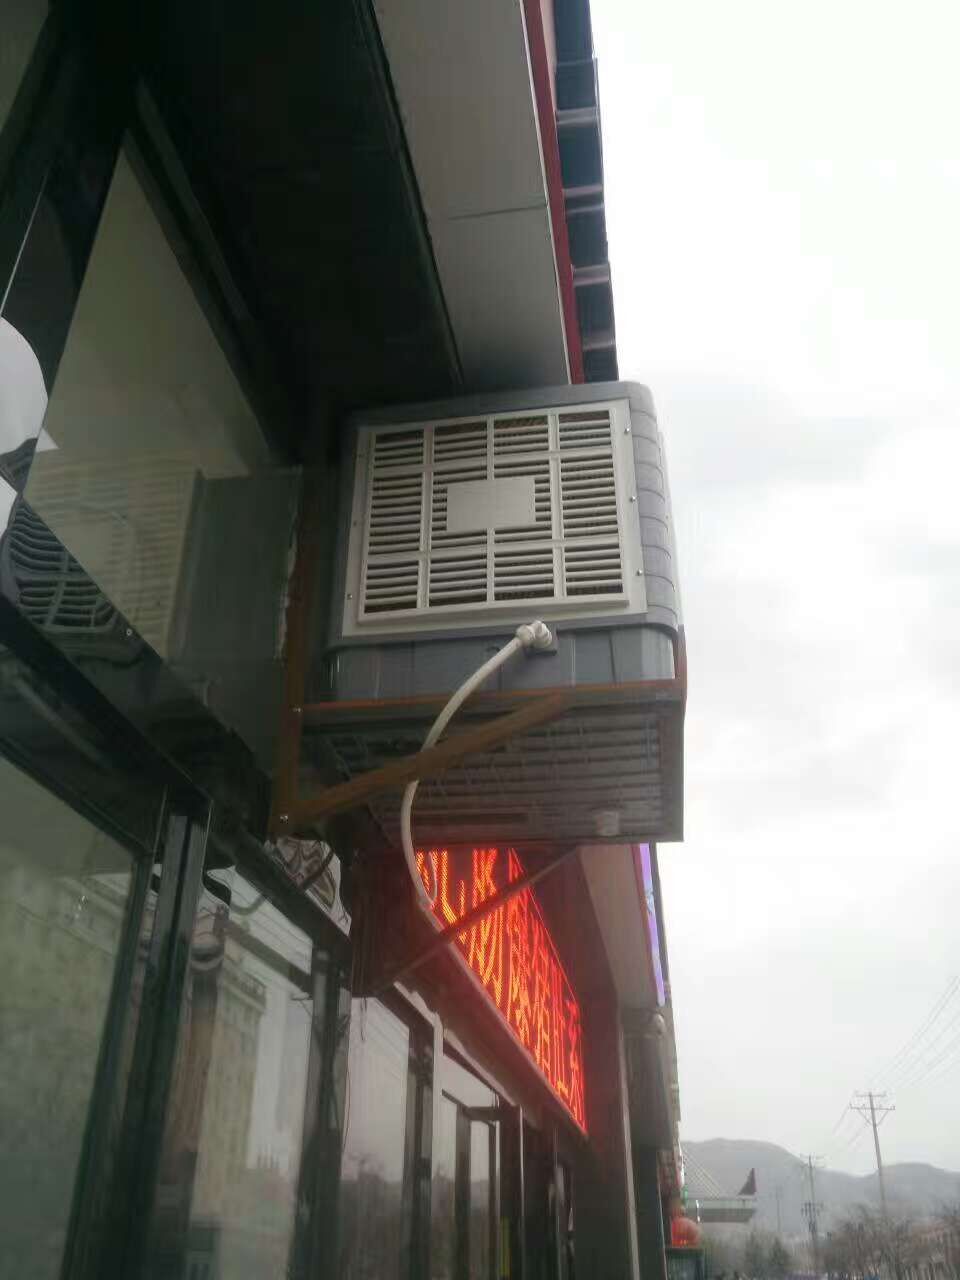
Window air coolers are a cost-effective and energy-efficient way to keep your space cool during the hot summer months. These portable units are easy to install and can be a great alternative to traditional air conditioning systems. If you want to beat the heat without spending a lot of money, making your own window air cooler can be a fun and rewarding DIY project.
To make a window air cooler, you’ll need some basic materials. Start by gathering a small fan, a plastic storage container, ice packs or frozen water bottles, and a few pieces of PVC pipe. You’ll also need a drill bit and some zip ties to hold the components together.
Start by drilling holes in the top of the plastic container to accommodate the PVC pipe. These ducts will serve as the intake and exhaust ports for the cooler. Next, place the fan on top of the container and use zip ties to hold it in place. Position the PVC pipe so that one end is inside the container and the other end extends outside the window.
Fill the container with ice packs or frozen water bottles to create a cooler for air to pass through. When the fan is on, it pulls hot air from the room, passes it over the cold ice pack, and blows the cooled air back into the space.
Installing a DIY window air cooler is as simple as placing the container on your windowsill and securing the PVC pipe in place. Make sure to seal all gaps around windows to prevent hot air from entering the room.
While a DIY window air cooler may not be as powerful as a commercial unit, it can still provide a significant cooling effect to help you stay comfortable on hot days. Plus, the satisfaction of creating your own cooling solution is an added bonus. So if you’re looking for an affordable way to beat the heat, consider making your own window air cooler and enjoy a cooler, more comfortable living space.
Post time: May-03-2024


